
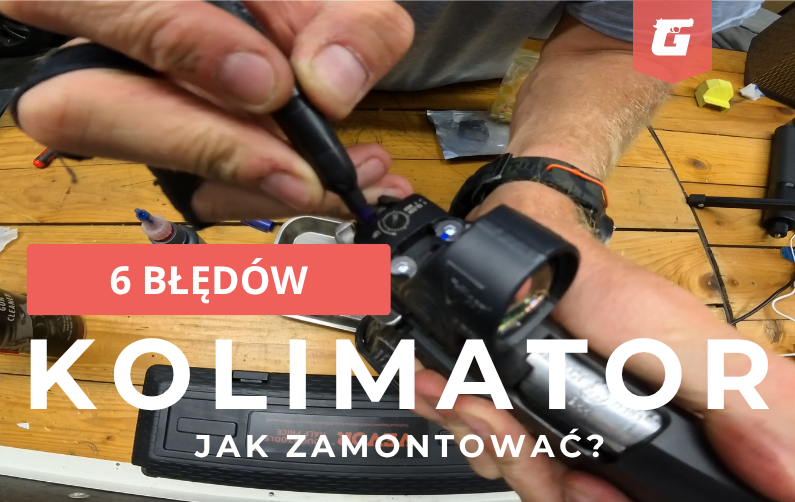
Red Dot Sight Installation: 6 Steps to Keep It Secure
Red dot sight installation seems simple. Two screws, a few minutes of work, and you’re done. Until a few hundred rounds later, when the screws start backing out, the optic loses zero or, in the worst case, your little “TV screen” decides to leave the slide while you’re shooting.
The good news is that most of these problems can be prevented during installation. You just need to do a few things properly and avoid rushing the job.
Before touching any screws, make sure the firearm is unloaded. Remove the magazine, verify the chamber is empty, and only then start working on the gun.
Table of Contents
- Why Red Dot Sight Screws Come Loose
- Step 1. Check Your Red Dot Sight Screws and Threads
- Step 2. Prepare for Red Dot Sight Installation
- Step 3. Choose the Right Red Dot Sight Threadlocker
- Step 4. Use the Correct Red Dot Sight Torque
- Step 5. Add Witness Marks on Red Dot Screws
- Step 6. Let the Red Dot Threadlocker Cure
- Red Dot Sight Installation Checklist
- Watch the Red Dot Sight Installation Video
- FAQ – Frequently Asked Questions
Why Red Dot Sight Screws Come Loose
A loose red dot doesn’t necessarily mean there’s something wrong with the optic itself. The problem could be the screws, threads, mounting plate or simply the way everything was installed.
A pistol-mounted optic has to deal with a demanding environment. Every time the gun cycles, the slide moves rapidly and the optic mounted to it moves with it. If the connection isn’t prepared correctly, problems can develop over time.
Instead of wondering why the same screw keeps coming loose, it makes sense to get the installation right from the beginning.
If you’re looking for more practical content about shooting, equipment and training, check out the Good Guys With Guns shooting blog.
Step 1. Check Your Red Dot Sight Screws and Threads
Start with the basics.
After removing the optic, inspect the screws and threads. Look for damaged threads, deformed screw heads or any other signs that something isn’t right.
If the screws are in good condition and their manufacturer allows them to be reused, you can keep them. If they’re damaged, don’t try to save a few bucks. Replace them with good-quality screws that meet the requirements of your particular mounting system.
There’s also a simple test worth doing with replacement screws: try threading them in gently with your fingers first.
This matters because with tiny threads, a tool can give you enough leverage to force in a screw that doesn’t actually fit correctly. If you feel unexpected resistance, stop and find out why instead of reaching for a bigger wrench.
If you’re dealing with damaged red dot sight threads or a snapped screw, having the parts inspected by someone qualified to repair them is usually a better idea than trying to solve the problem with more force.
Step 2. Prepare for Red Dot Sight Installation
Proper preparation is one of those parts of pistol red dot sight installation that’s easy to rush and then wonder later why the optic didn’t stay secure.
Before assembling everything, clean and degrease the relevant components according to the requirements of your mounting system and the threadlocking compound you’re using.
Pay particular attention to:
- the red dot sight screws,
- the threads,
- the mounting holes,
- the red dot mounting plate,
- the contact surfaces specified by the manufacturer.
The mounting holes are especially easy to overlook. Oil or other contamination left inside can affect the threaded connection.
Once everything has been prepared, avoid unnecessarily touching the cleaned surfaces with your fingers. Keep things clean and take your time during assembly.
Step 3. Choose the Right Red Dot Sight Threadlocker
Next comes threadlocker. One of the most common questions is which Loctite for a red dot sight should be used.
Don’t choose a product based only on the rule that “blue is good and red is bad.” Check the recommendations from the optic manufacturer, mounting plate manufacturer and the manufacturer of the threadlocking compound.
For example, Henkel describes LOCTITE 243 as a medium-strength threadlocking product designed to secure threaded metal fasteners against loosening caused by shock and vibration. The manufacturer also states that the connection can be disassembled using normal hand tools.
You can find the official LOCTITE 243 product information from Henkel.
If your mounting system requires red dot sight threadlocker, use the appropriate product and follow its instructions. More threadlocker doesn’t automatically mean a better installation.
Step 4. Use the Correct Red Dot Sight Torque
Can you tighten optic screws with a regular Allen key and judge it by feel? Sure. That’s how I did it in the beginning and, surprisingly, it worked.
The problem is that one person’s “tight enough” can be completely different from someone else’s.
If possible, use a small torque wrench or torque driver and follow the value specified by the manufacturer.
There isn’t one universal red dot sight torque value that works for every optic. The correct value can depend on the optic, screws, mounting plate and firearm.
Look for the correct specification in:
- the red dot sight manual,
- the mounting plate instructions,
- the firearm manufacturer’s documentation,
- official technical information for your specific mounting system.
Don’t guess, and don’t add another quarter turn “just to be sure.” A screw that’s too loose can back out. A screw that’s overtightened can damage the threads or the screw itself.
Step 5. Add Witness Marks on Red Dot Screws
Once the red dot sight installation is complete, there’s one more very simple thing you can do: add a witness mark.
Use a fine marker to make a small alignment mark that allows you to visually monitor the position of the screw in relation to the adjacent component.
Before a training session, you can then check the marks at a glance. If they no longer line up, you have an indication that the connection needs to be inspected.
It takes seconds and gives you an easy way to include the optic in your normal equipment checks.
That’s also part of the broader approach we try to promote at Good Guys With Guns. Equipment needs to work, but we also need to take responsibility for knowing what condition it’s in.
Step 6. Let the Red Dot Threadlocker Cure
The optic is mounted, the screws are torqued and the witness marks are in place. It’s tempting to head straight to the range.
Not so fast.
If your threadlocking compound requires curing time, give it that time. Don’t automatically assume every product needs exactly 24 hours. Check the technical documentation for the specific compound you’re using.
For example, Henkel lists a fixture time of approximately 10 minutes for LOCTITE 243, but fixture time isn’t the same thing as the product reaching its final cured properties. Follow the manufacturer’s technical data and the requirements of your mounting system.
Store the unloaded firearm safely and give the connection the required time before taking it to the range.
Red Dot Sight Installation Checklist
If you don’t want to read the entire article every time you install an optic, remember these six points:
- Check the red dot sight screws and threads. Don’t install damaged components.
- Clean and degrease everything properly. Pay particular attention to the screws and mounting holes.
- Use the correct red dot sight threadlocker if required by the manufacturer.
- Use the specified red dot sight torque for your particular optic and mounting system.
- Add witness marks on the red dot screws so you can quickly spot movement.
- Allow the required curing time before using the firearm.
Six simple steps. No magic.
A good red dot sight installation isn’t about tightening everything as hard as possible. It’s about proper preparation, correct components, suitable threadlocker and following the manufacturer’s specifications.
Then comes the fun part: training.
Watch the Red Dot Sight Installation Video
Want to see the entire process in action? Watch our step-by-step video on mounting a red dot sight, from checking the screws and threads to applying threadlocker, using the correct torque and adding witness marks.
FAQ – Frequently Asked Questions
How to Install a Red Dot Sight Properly?
Start by making sure the firearm is unloaded, then inspect the screws and threads. Prepare the components according to the manufacturer’s instructions, use the specified threadlocker if required, and tighten the screws to the torque specified for your particular mounting system.
Why Do Red Dot Sight Screws Come Loose?
There are several possible causes, including improper installation, contaminated threads, unsuitable or damaged screws, incorrect torque or failure to use the specified threadlocker. Witness marks can help you quickly notice if a screw has started to rotate.
What Torque Should I Use for Red Dot Sight Screws?
There is no single torque specification that applies to every optic. Use the value provided by the manufacturer of your red dot sight, mounting plate or firearm, and use an appropriate torque driver whenever possible.
What Loctite Should I Use for a Red Dot Sight?
Use the threadlocking compound specified or approved by the manufacturer of your optic and mounting system. Don’t rely on color alone when choosing a Loctite product because different formulations can have different properties and intended applications.
What Strength Grade Should Red Dot Sight Screws Be?
For metric screws, 8.8 is a commonly recognized property class and is written “8.8”, not “8/8.” However, the strength class alone doesn’t determine whether a screw is suitable for a particular optic. The diameter, thread pitch, length, head design and mounting system manufacturer’s specifications must also be correct.

