
Dry Fire Level 1: How to Start — Dry Fire Basics
This is Part 2 of our 4-part Dry Fire Training Series. In the Introduction, we explored why dry fire is the shooter’s secret weapon — a safe, simple way to train precision and discipline without firing a single round.
Now it’s time to get hands-on. Level 1 is all about building your foundation: creating safe habits, setting up your training space, and starting with dry fire drills that actually make a difference. No fancy gear. No long sessions. Just consistency, focus, and small daily improvements.
Table of Contents
- Safety First — Non-Negotiable
- Setting Up Your Training Zone
- Building Habits That Stick
- Basic Elements to Practice
- Simple Dry Fire Drills for Beginners
- Your First Training Plan (Week 1–3)
- Common Mistakes at Level 1
- Progress Markers
- Final Thoughts
Safety First — Non-Negotiable
Dry fire training only works when we respect safety. Even an empty gun deserves full attention.
- Triple-check your firearm: magazine out, slide locked back, visually and physically inspect the chamber.
- No live ammo in the room.
- Pick a safe direction — a wall or backstop that could stop a bullet.
- Quiet environment — no distractions, no rush.
- Announce it: if you live with others, let them know you’re training.
Print this checklist and tape it near your training area — it’s your first habit as a responsible shooter.
Setting Up Your Training Zone
You don’t need a range or special room. Just a safe, consistent space with good lighting and solid footing.
- Define your safe wall or target area (use dry fire cards, sticky notes, or paper dots).
- Keep enough space for a safe draw.
- Clear the area — no distractions, no clutter.
Optional, but useful: mirror (to check posture), shot timer app, dummy rounds, or a laser cartridge.
Building Habits That Stick
Dry fire isn’t about intensity — it’s about repetition. Short, focused sessions every day beat long, random ones.
- Train at the same time each day.
- Keep sessions to 10–15 minutes.
- Focus on quality, not quantity.
Tip: Keep a small notebook or checklist. Tracking progress builds motivation and accountability.
Basic Elements to Practice
These are your building blocks in Level 1:
1. Grip
Consistent, firm, but not tense. Build the same grip every time. Equal pressure front-to-back, strong support hand.
2. Sight Picture & Alignment
Focus on the front sight. The target should blur slightly. Practice raising your sights to your eye line smoothly and confirm alignment.
3. Trigger Control
Smooth, steady press straight to the rear. The front sight should not move. This is the essence of trigger control dry fire practice.
4. Draw & Holstering
Start slow — safety before speed. Grip, clear, rotate, join, extend, press. Re-holster deliberately — no “quick draws” back into the holster.
Simple Dry Fire Drills for Beginners
Start with these basic dry fire drills — no gear required.
Wall Drill
Stand one arm’s length from a wall. Aim so your front sight almost touches it. Press the trigger smoothly, keeping the sight still.
Focus: trigger control and sight stability.
Draw & First Shot
From the holster, on “GO,” draw, aim, and press once.
Focus: consistent, smooth presentation.
Low Ready to Target
Start from low ready, bring the gun to your eye line, and “fire.”
Focus: sight alignment and reaction time.
Dry Fire Reload Drill
Start with an empty mag in the gun and one on your belt. Simulate a slide lock, eject, reload, and press.
Focus: coordination and efficiency.
Your First Training Plan (Week 1–3)
Each week builds on the last. Train 10–15 minutes per day, 3–5 days a week.
Week 1 – Foundation
- Wall Drill – 20-30 reps
- Trigger Control – 20-30 reps
- Slow Draw – 10–20 reps
Week 2 – Motion
- Draw & First Shot – 20-30 reps
- Low Ready to Target – 20-30 reps
- Reload Practice – 10–20 reps
Week 3 – Consistency
- Combine Draw + Reload + Sight Picture
- Work on smooth transitions between steps.
- Time yourself once a week to see progress.
Common Mistakes at Level 1
- Rushing through drills without focus.
- Skipping the firearm safety check.
- Looking at the target instead of the front sight.
- Gripping too hard and causing tension.
- Inconsistent setup — different space, different focus.
Progress Markers
After three weeks, you should notice:
- ✅ Smoother draw
- ✅ More stable sight picture
- ✅ Cleaner trigger press
- ✅ Shorter time to “first shot click”
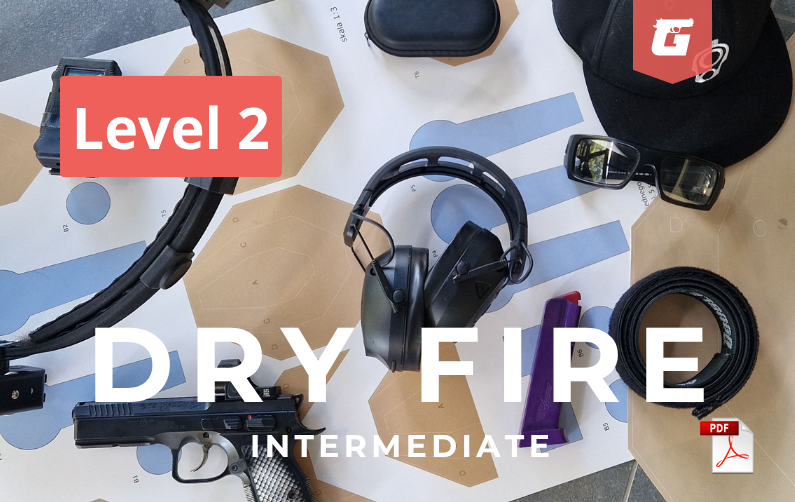
That’s your foundation. Once this feels natural, you’re ready for Level 2 – Intermediate: Pressure & Fluidity, publishing on 27 November 2024.
Final Thoughts
Level 1 is where we build our roots — safe habits, smooth motion, calm control. It’s not about speed, it’s about repeatable precision.
Dry fire training doesn’t have to be complicated to be effective. Stay consistent, stay safe, and remember: slow is smooth, smooth is fast.
📅 Next article: Level 2 – Intermediate: Pressure & Fluidity — coming 27 November 2025
📂 Download: Dry Fire Level 1 Training (PDF)
👉 Question for our community: How long have you been dry firing? What’s the one drill that helped you most when starting out?


